Sunday, May 27, 2007

Hardwood Floors


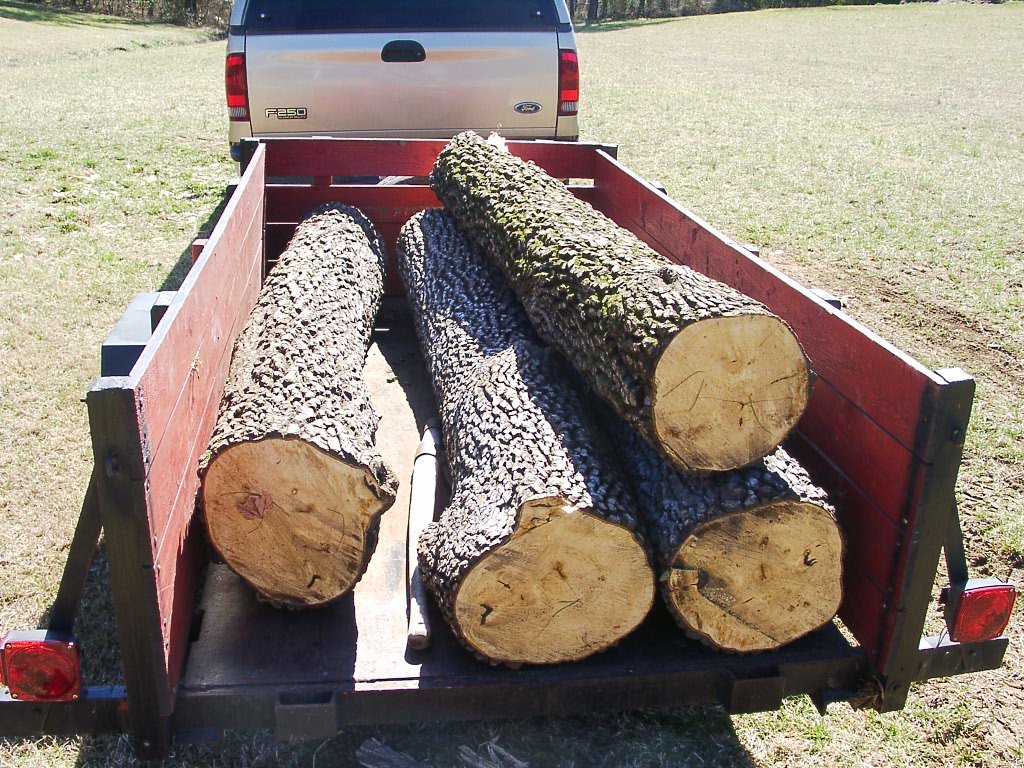
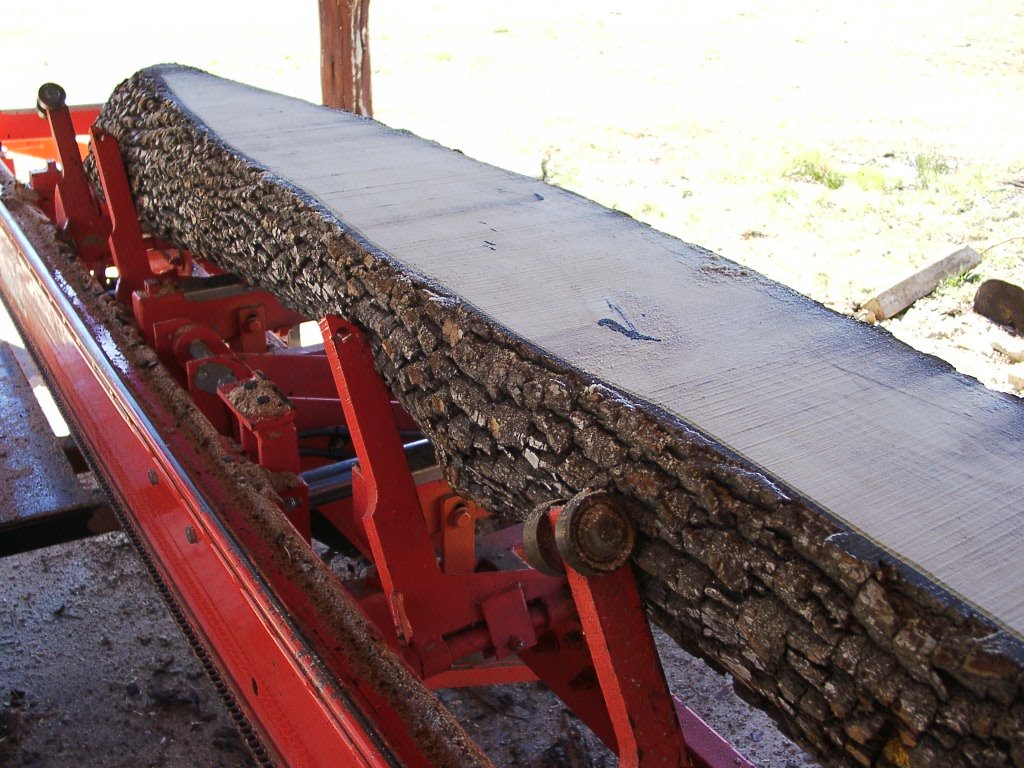
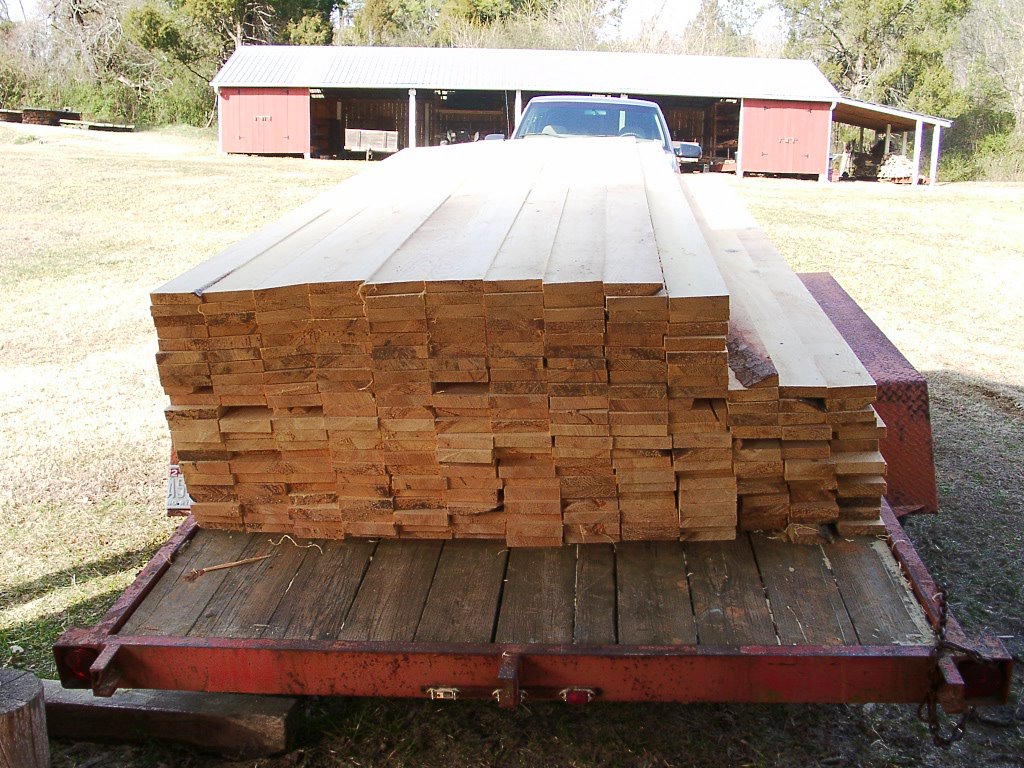
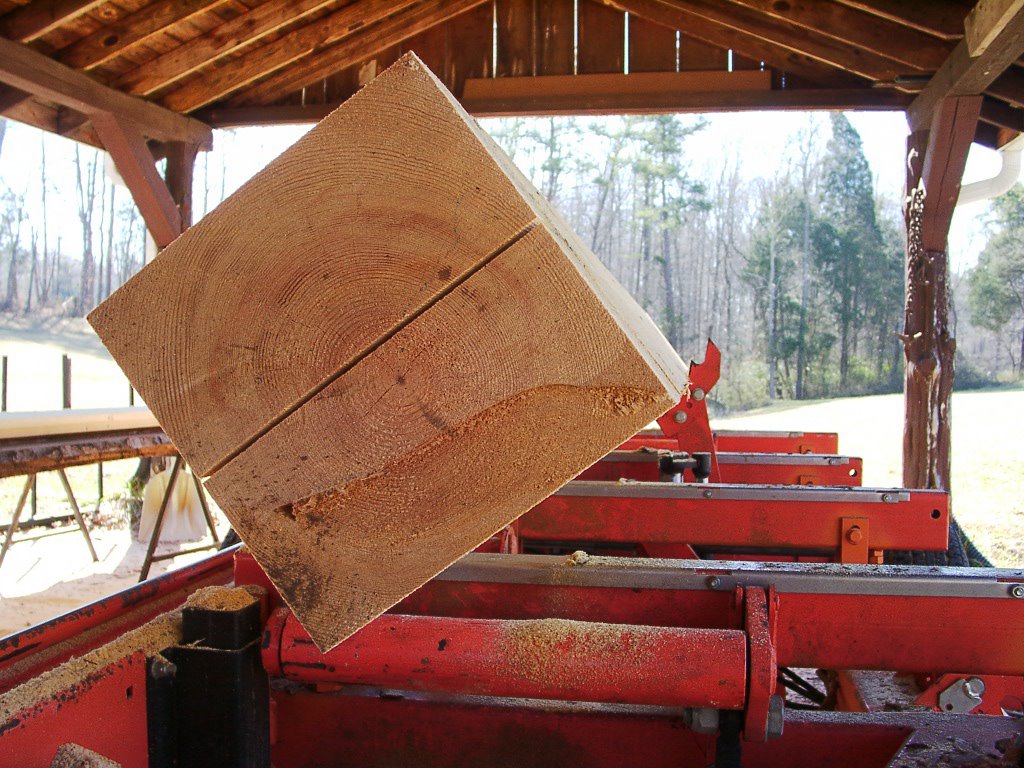
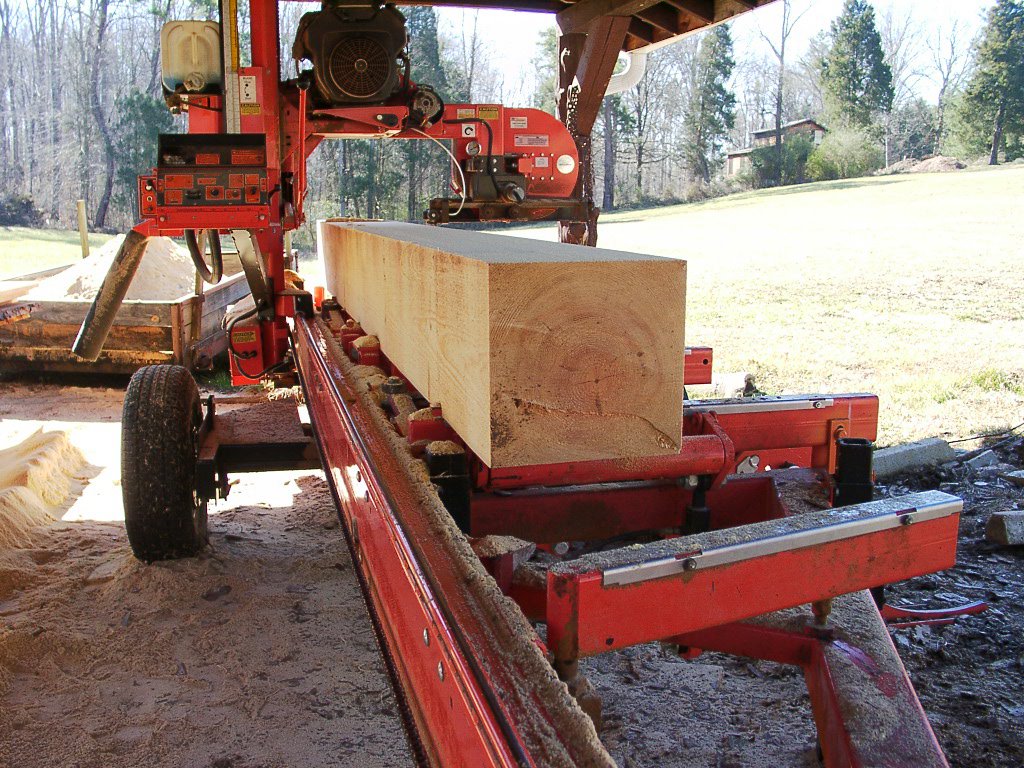
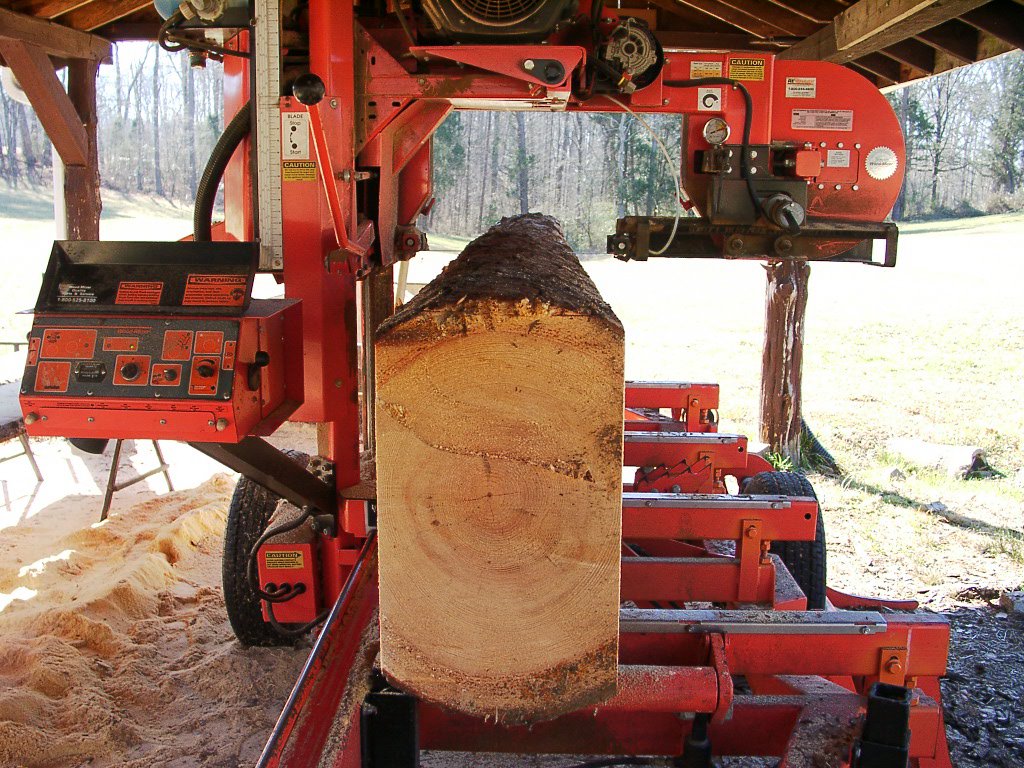
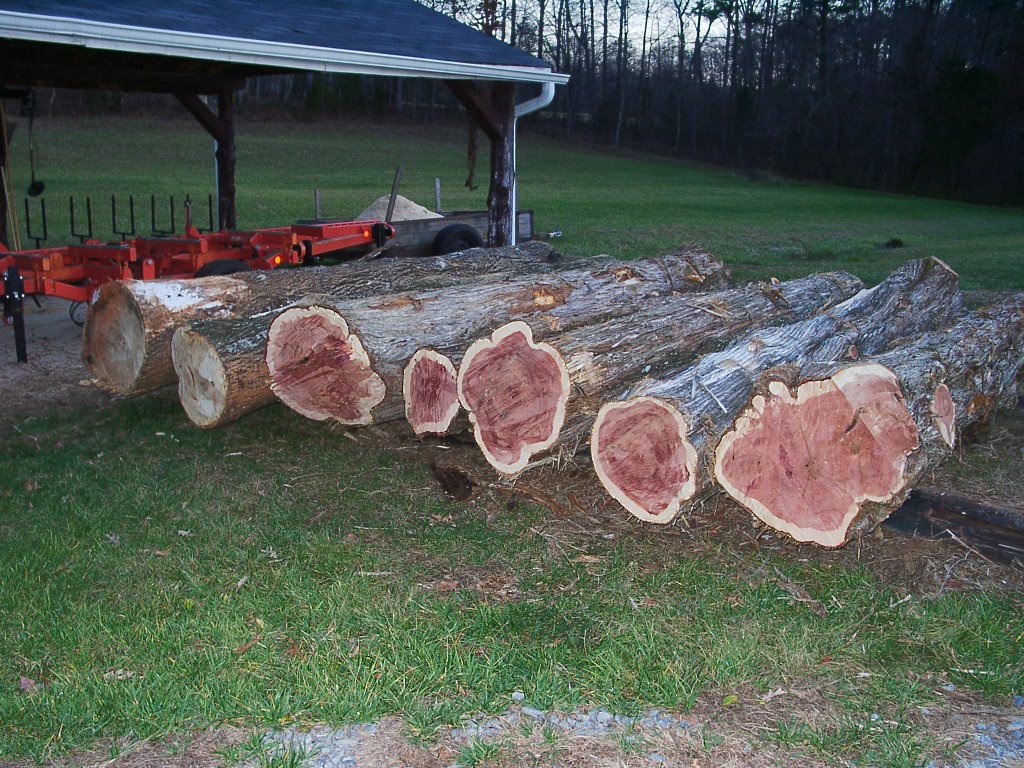
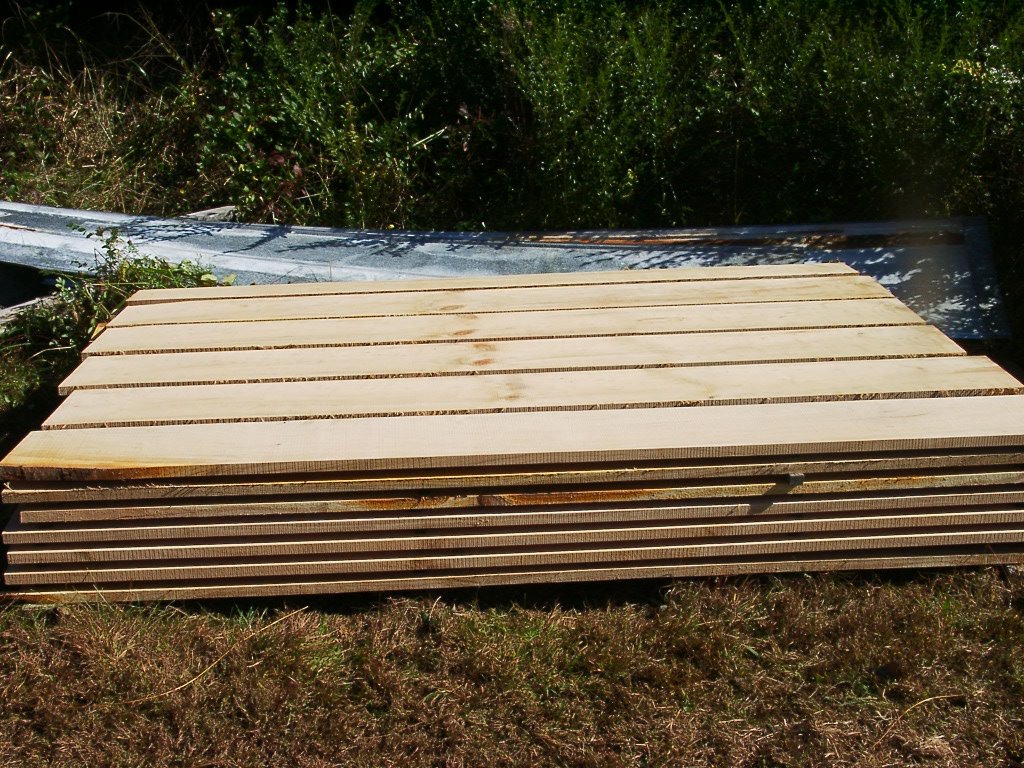
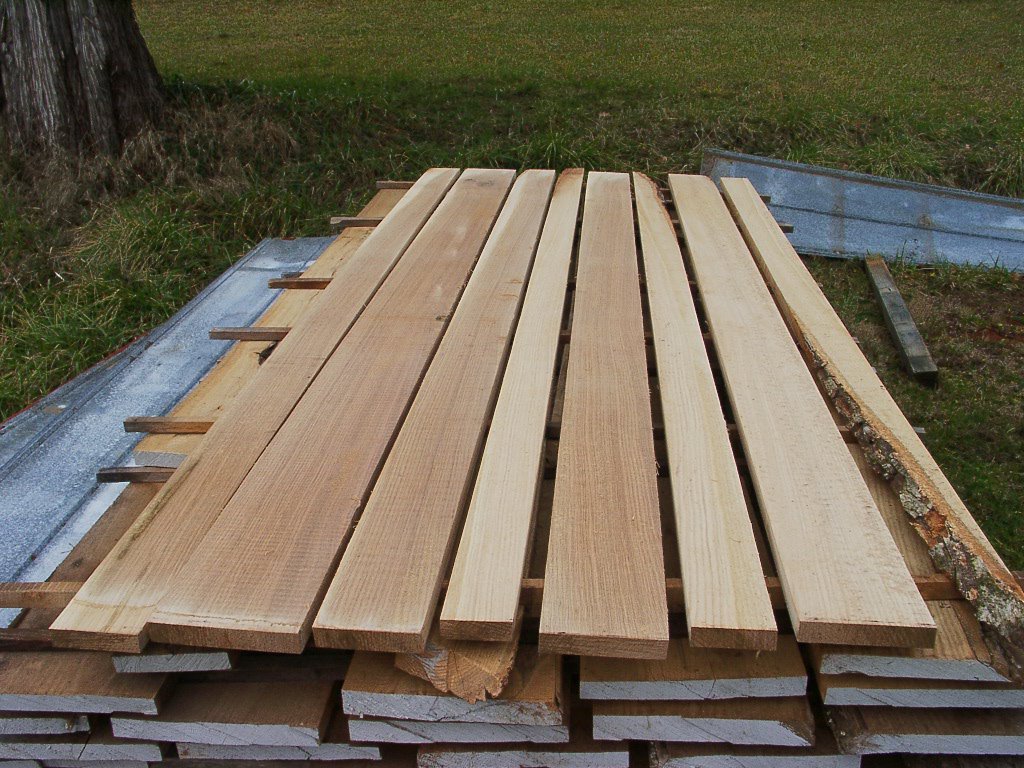
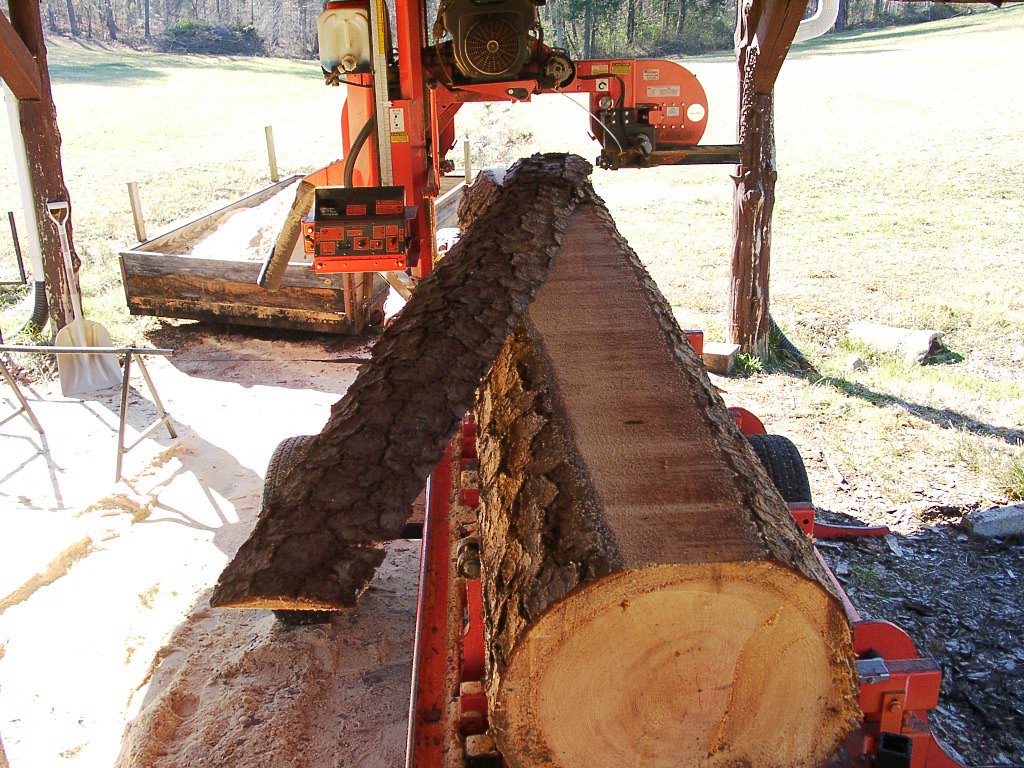
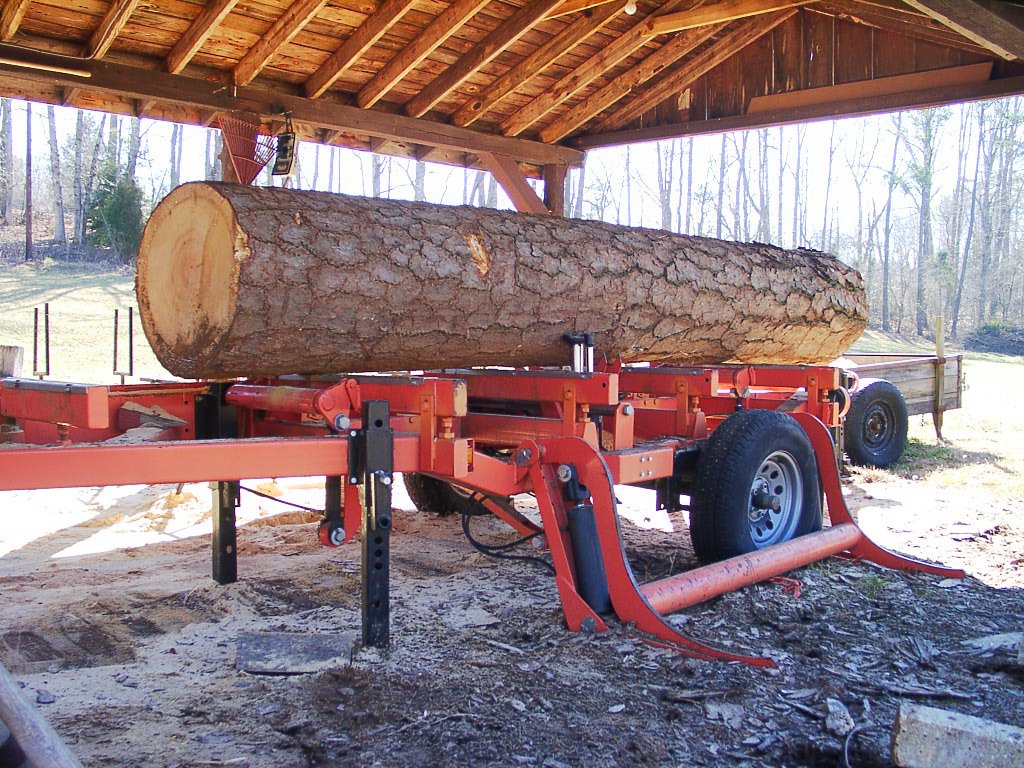
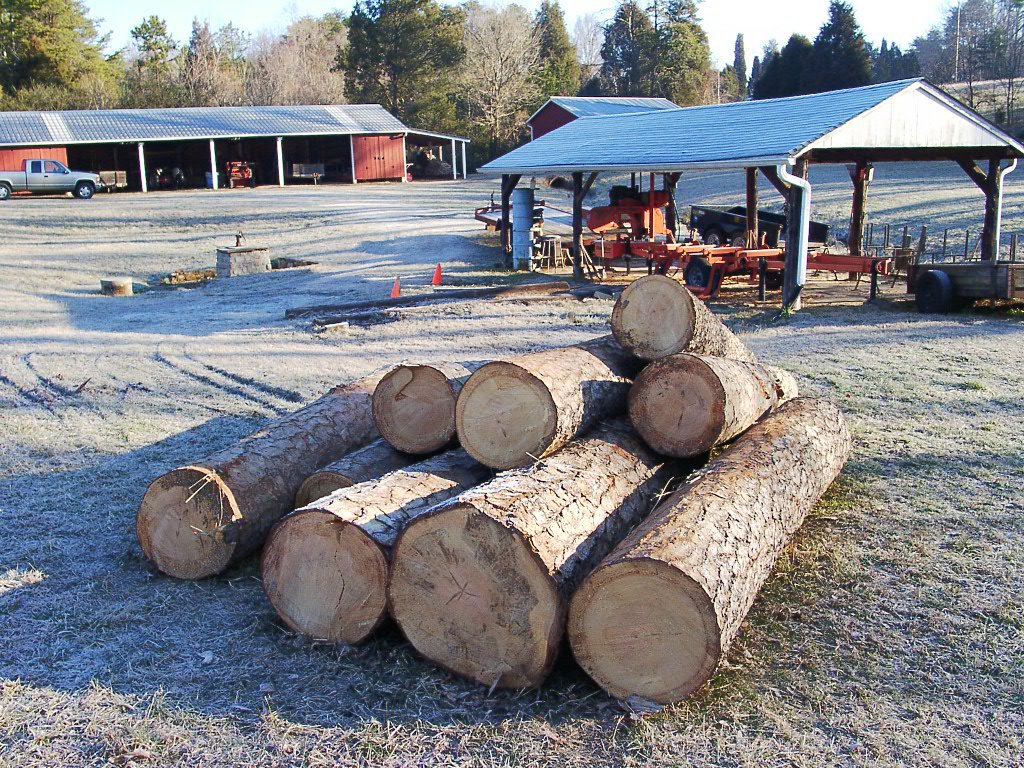
A friend and I worked fifteen hours to mill two trees into the lumber as shown in the above picture. The trees produced 6 logs, each at least 24" in diameter, and 12 feet long. One additional log the same size came from a tree on another site. The tree in the pictures below started this hardwood floor project for a new house which now is in the planning stage. Gusty winds uprooted a neighbor's tree which fell onto my friend's back lawn. The limbs struck his house as the tree fell. The enormous root ball in the pictures was over 12 feet in diameter.

A second red oak tree stood in the backyard and presented similar danger so it was removed when cleanup of the fallen tree was underway.

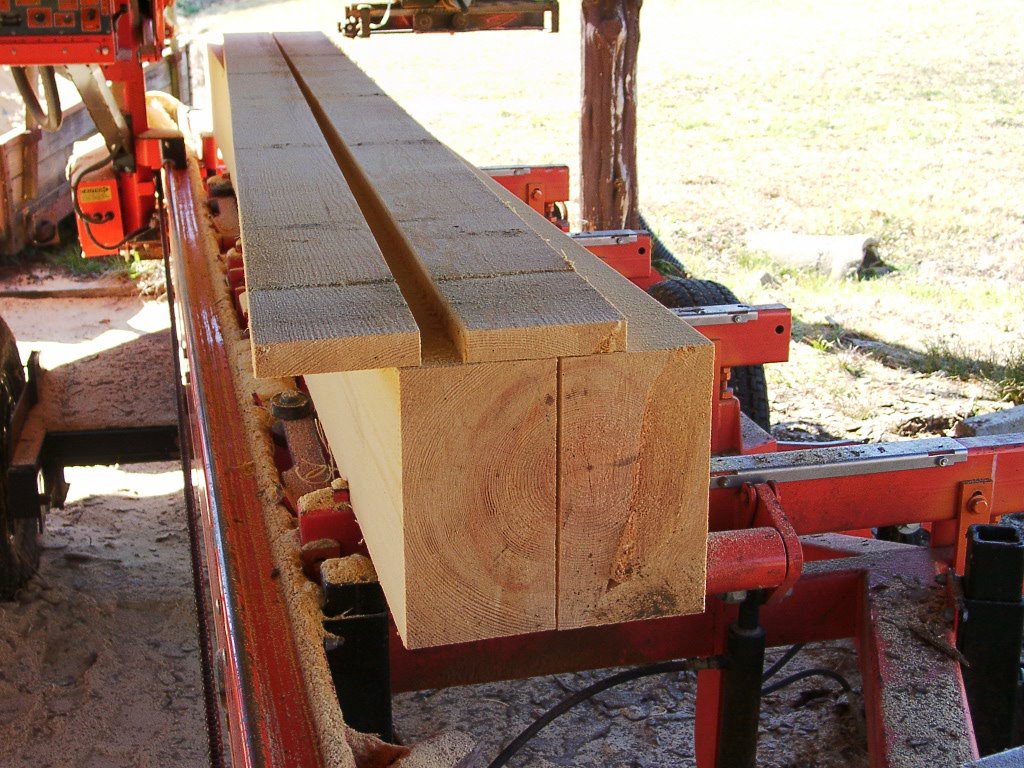
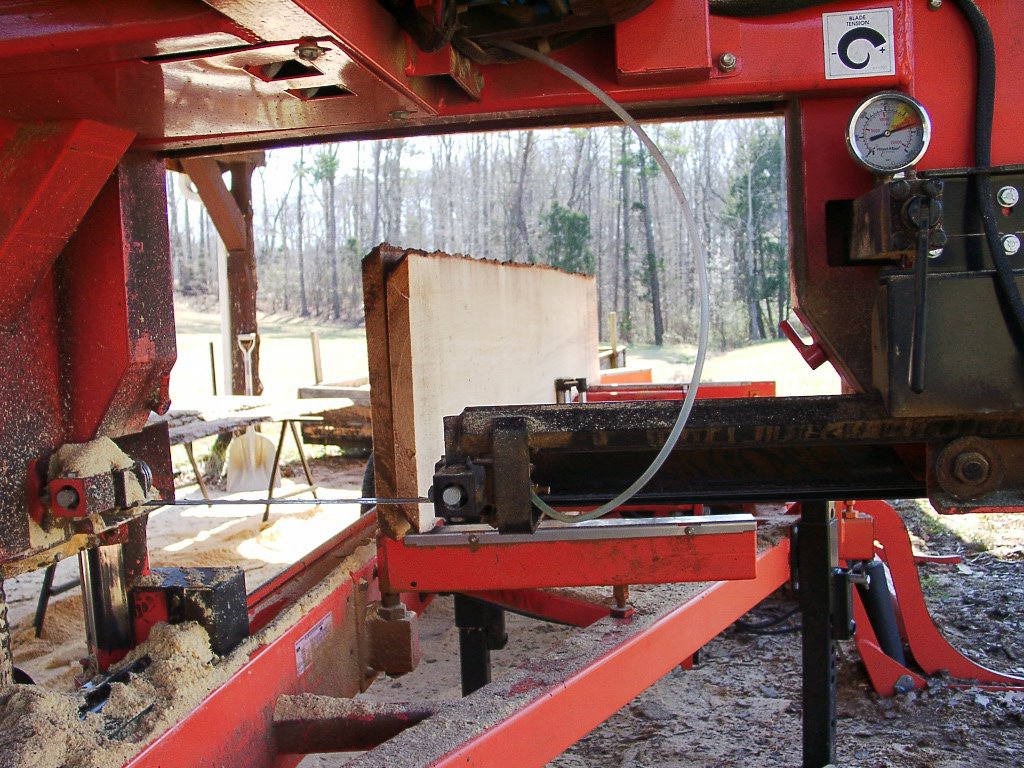
We sawed the huge logs using a method that yielded quartersawn and riftsawn boards. This method of sawing consumes more time but produces choice lumber due to the orientation and visibility of the tree's growth rings in the finished boards. The sawlogs' pithy cores were removed as was most of the sapwood during the sawing. The final lumber yield was around 1,650 board feet.

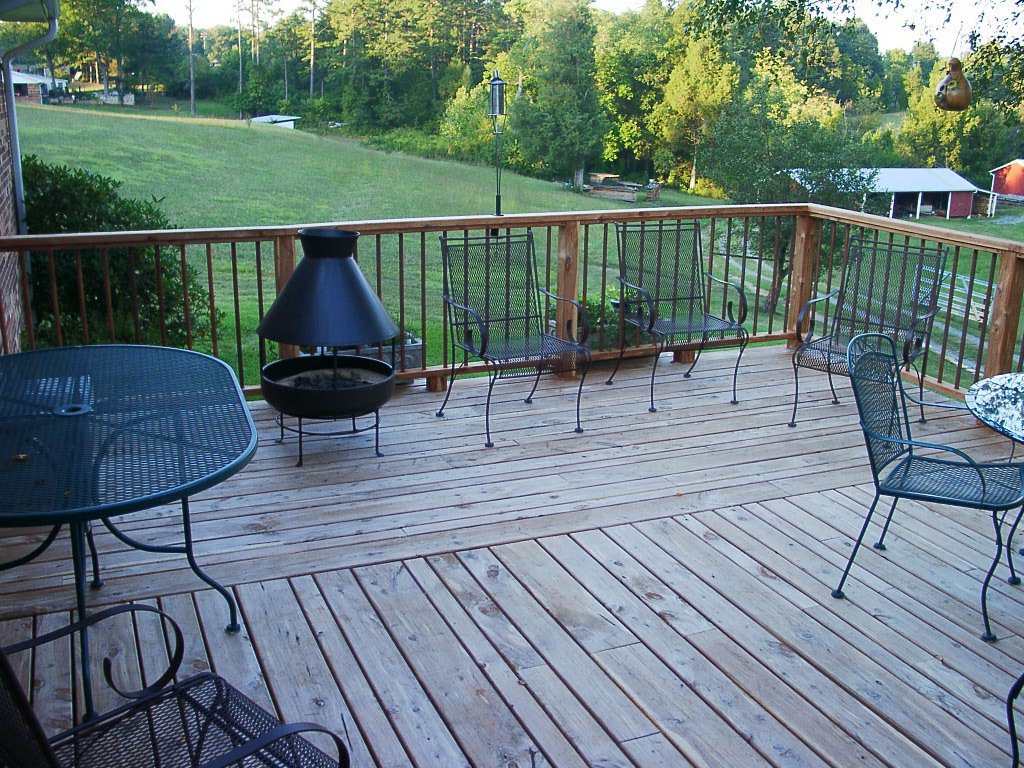
The plan is to allow the lumber to air-dry for four months, then kiln dry the boards to bring the moisture content down to 6%. Next a woodworking shop will finish the boards with tongue and groove in dimensions of 3/4 " thick and 3, 4, 5, and 6 inches wide.

The finished floor produced by this lumber should approach museum quality.

Have a good week!


Labels:

Friday, November 03, 2006

Classic Bed


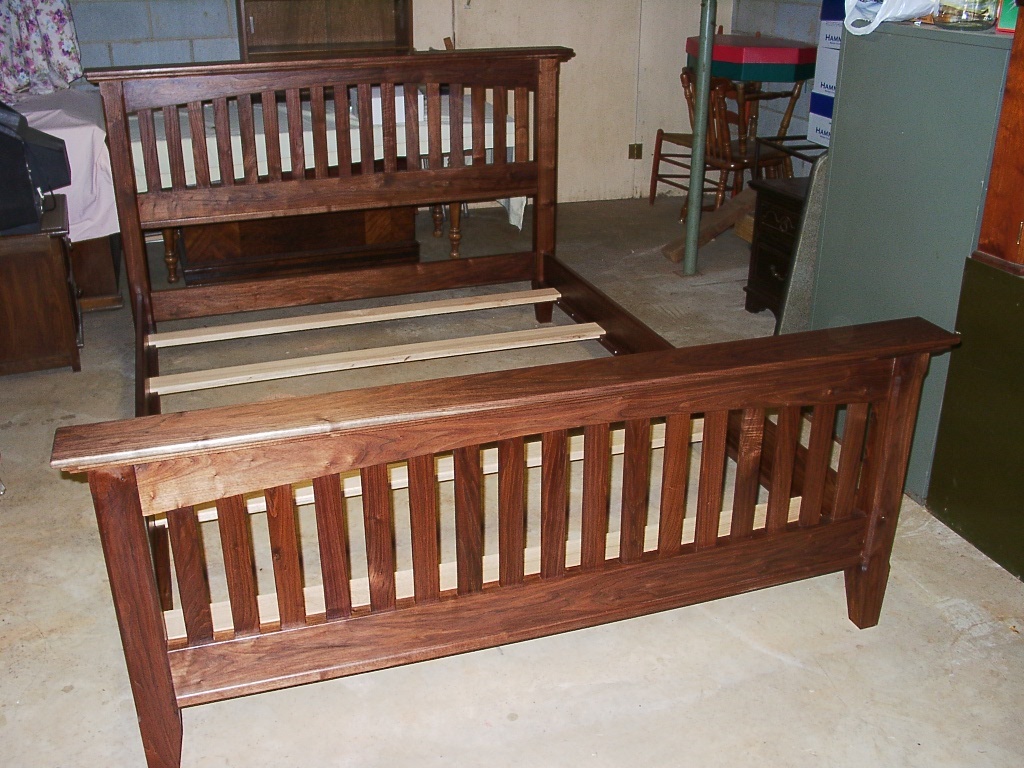
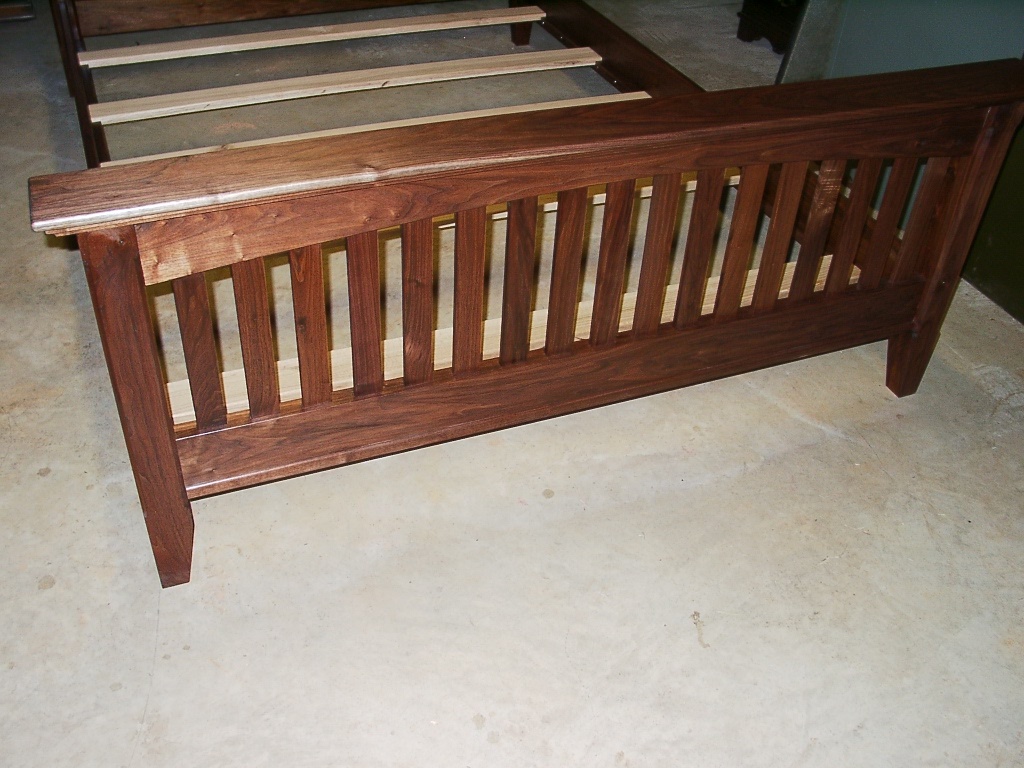
The pictures here show a bed made of solid walnut. I followed the plans which were published in Woodsmith magazine in December, 1996. This is a sturdy bed which does not sag or shake when weight is added.

This bed is one of four I built following this design. Two were built with walnut, one with quartersawn red oak, and one from cherry. Three beds are full size and one queen size.

I used lumber that I milled from logs. After one year of air curing, I processed the boards to build these beds for our family.

Return here on Monday, November 6 for an update.

Have a good day!

Labels:

Saturday, July 15, 2006

Shelter Over Spring


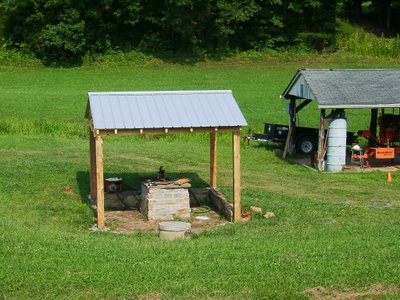
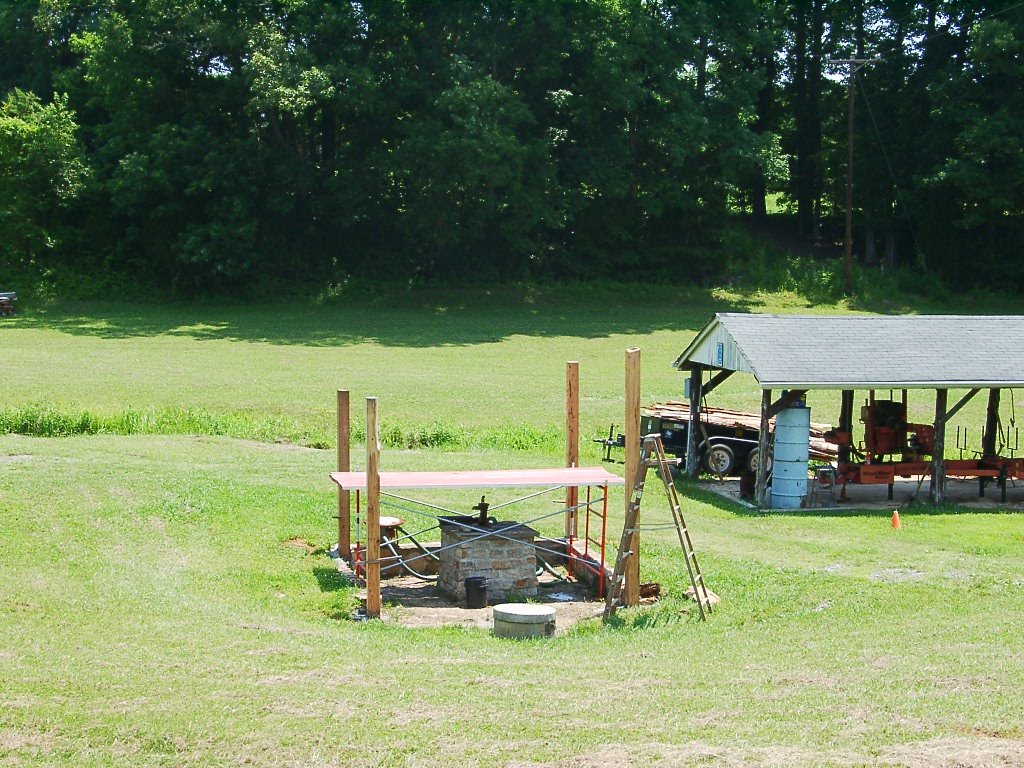
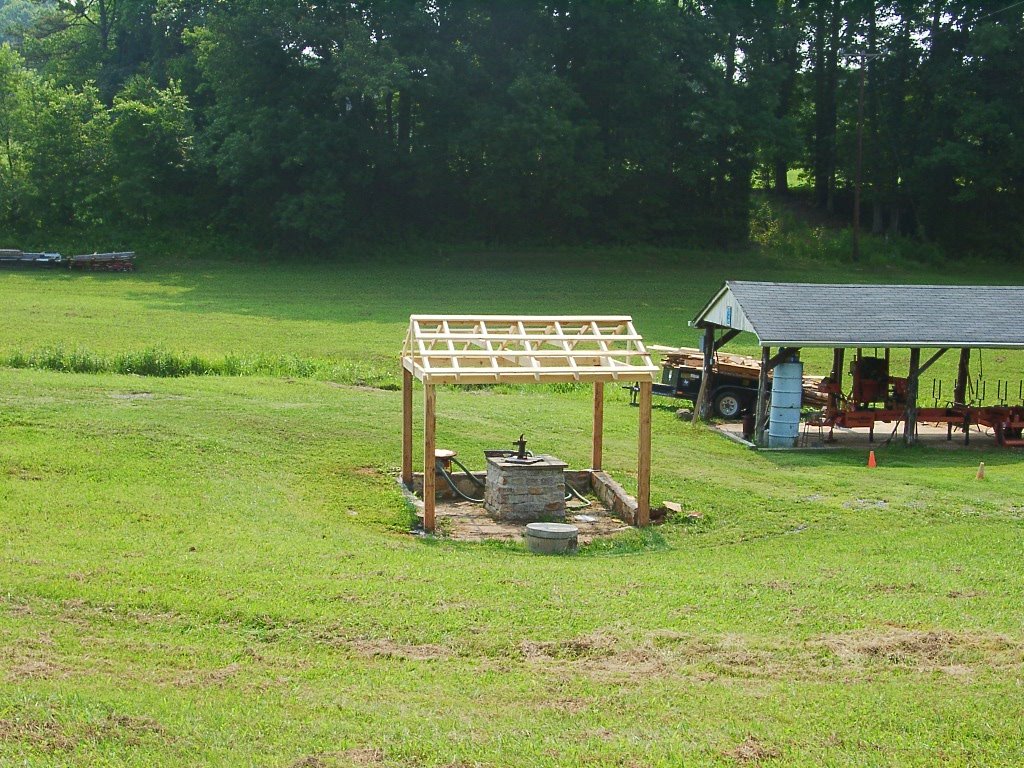
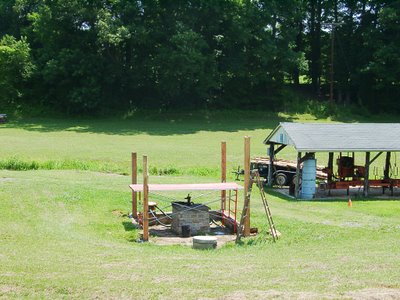
The top picture shows the start of rebuilding a shelter over a spring which is located behind my house.

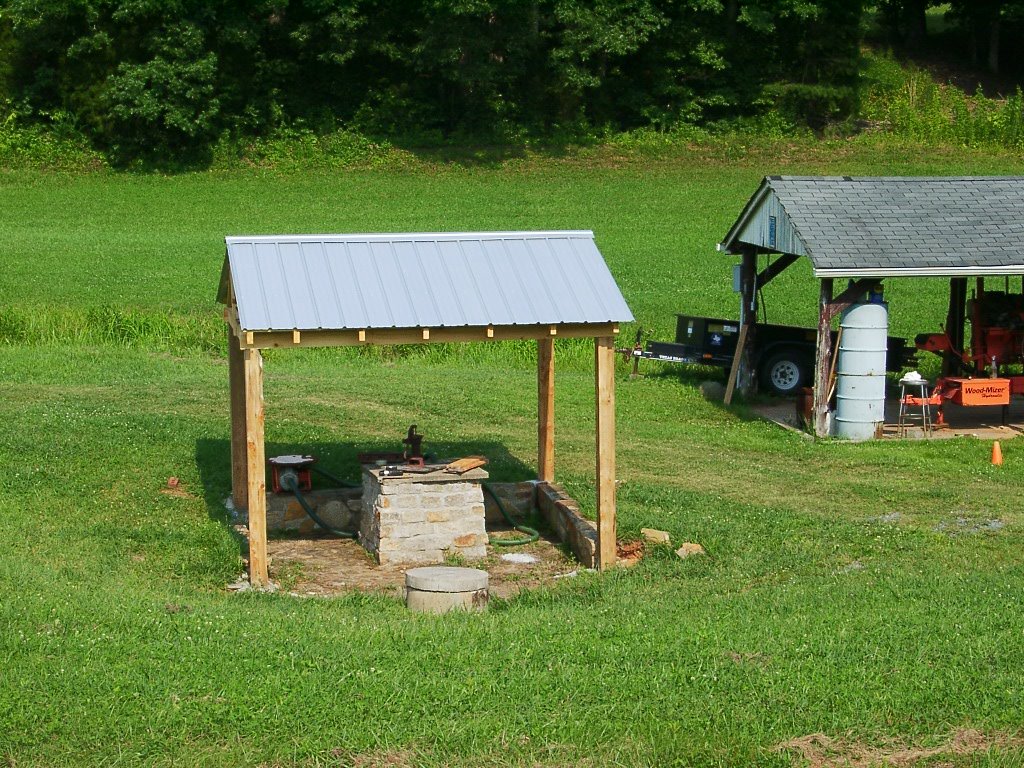
A spring is a small flow of fresh, clean groundwater coming to the surface naturally. This particular spring supplied drinking water for some of my ancestors as far back as the 1880's. They dipped water from a small basin and carried filled buckets up a hill to their house over two hundred feet away. This was their only water supply for all home and personal needs.

During long dry periods, this spring water flow diminishes only slightly. I measured the normal flow at around two gallons per minute when the reservoir is full and around 15 gallons per minute after I power-pumped the reservoir down to near empty. I can pump around 200 gallons into barrels before the suction hose begins to slurp air. It takes about twenty minutes for the natural flow to refill the spring storage space. I use this water supply to pour onto plants and to wet a mulch pile.

The last roof over this spring area was built by my father around 32 years ago. He used locust posts to support the roof. Those posts lasted around 10 to 12 years before they decayed. I replaced them by raising the roof off those rickety locust posts and installed 5" X 5" treated posts. I lowered the old roof onto the newly planted posts. The treated-pine posts I used lasted about 15 years in the constant wet ground. About 5 years ago, I accidentally hit one corner support post with a tractor implement and the rotting post broke which caused the old roof to collapse. I hauled the resulting rubble to the landfill.

This summer I committed to rebuild the semi-shelter structure. I milled eastern red cedar logs into 6" X 6" dimensions for support posts as shown in the top photo. My wife helped me get them plumb and near square before I permanently secured them in the wet ground with cement. I say "near square" because the structure is "out-of-square" by 8" when the diagonals are measured. I know this is not quality building, but I could not feasibly move three holes to correct this condition. Only critical eyes can notice this error as it reveals its effect on the underneath side of the roof.

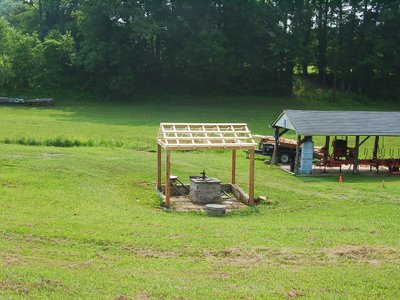
My wife helped cut the posts level, raise two 3" X 6" beams between each pair of posts, measure, saw and nail rafters. The time to complete this part was 5 hours spread over two days (early mornings). See completed rafters in photo below. My pneumatic nail gun and compound miter saw enabled this efficiency. I used white pine to construct the beams, rafters, and braces from logs I milled into full sized lumber.

Unpainted Galvalume metal and one skylight were used for the roof covering. We attached these materials in place with screws after lunch one 90 degree day. My wife was not enthusiastic about helping as she assisted in that heat. The current status of the shelter is shown in the bottom photo.

The next step will be to nail face-boards to the rafter ends, fill-in the gables with woodwork, and paint exposed wood. This can wait until cooler times.

I expect these cedar posts to last from 50 to 100 years.

The out of pocket expense for this project was $146.38.

Return here Monday, July 17 for an update about the water flow into and out of this spring.

Have a good day!

Labels:

Friday, May 19, 2006

Persimmon

Persimmon is a fruit bearing tree that usually doesn't grow to be large. Persimmon grows slowly and is characterized by bark with deep crevices. The wood is extremely hard and was used to make golf club heads before light weight metals were developed.

The fruit from the tree is eaten by raccoon and other animals. Some people make pies from this fruit after it ripens following fall frosts.

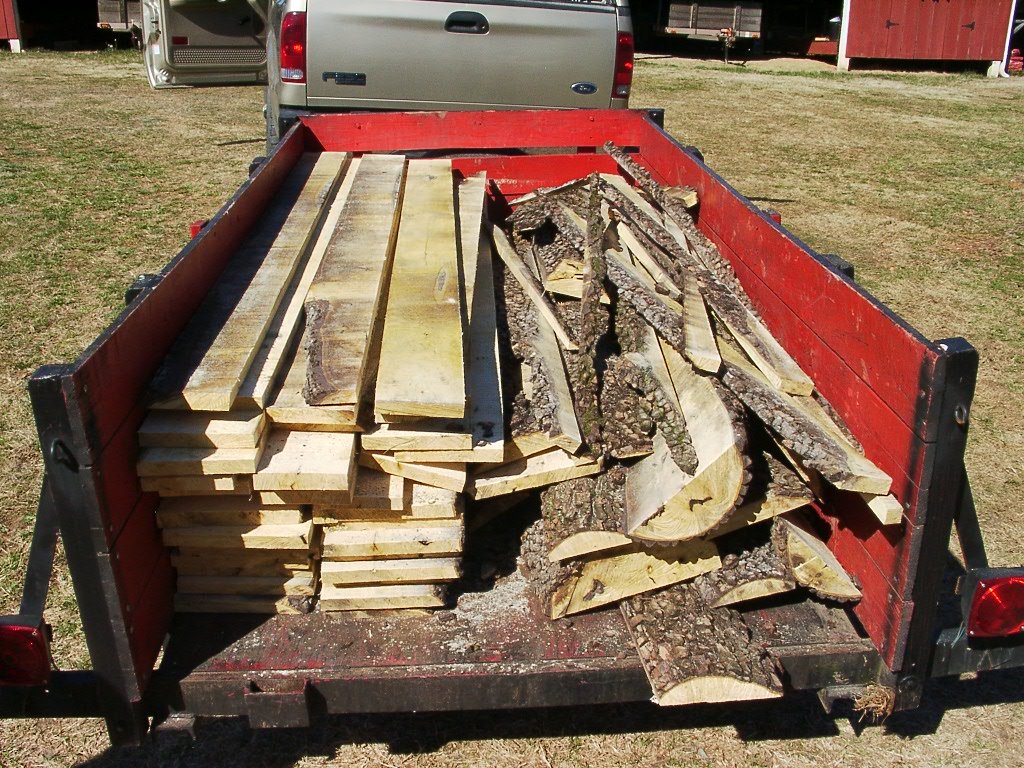
A good friend of mine harvested this tree from a homeowner who no longer wanted this persimmon tree near his house. We milled these four logs into boards for furniture building plans. Previously, this friend built a "chimney bookcase" from persimmon and it sold for a handsome price.

The wood is yellow with random black spots or streaks when freshly sawed. After curing the yellow turns to a dull brown while the black spots remain. Hand-crafted, custom-made furniture pieces made from unusual wood is desirable to some people who like unique, high quality furniture.

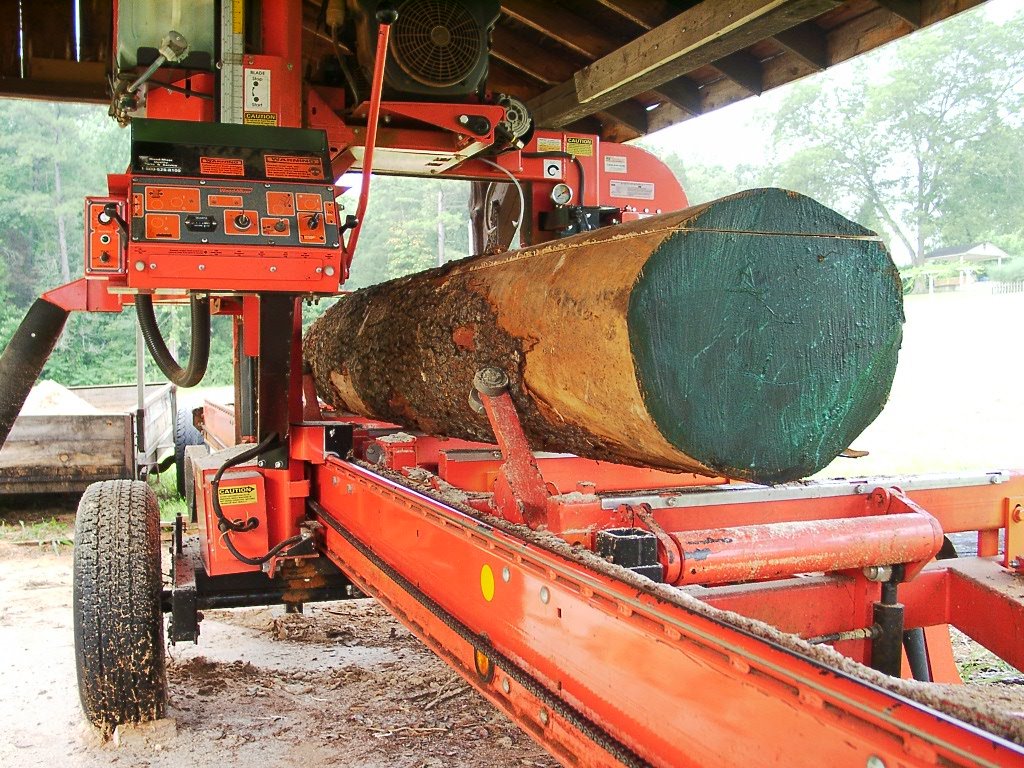
The pictures here show the logs, the process of milling, and my friend's trailer loaded with lumber and slabs.

Have a good day!


Labels:

Thursday, May 11, 2006

Ever Seen This Done?

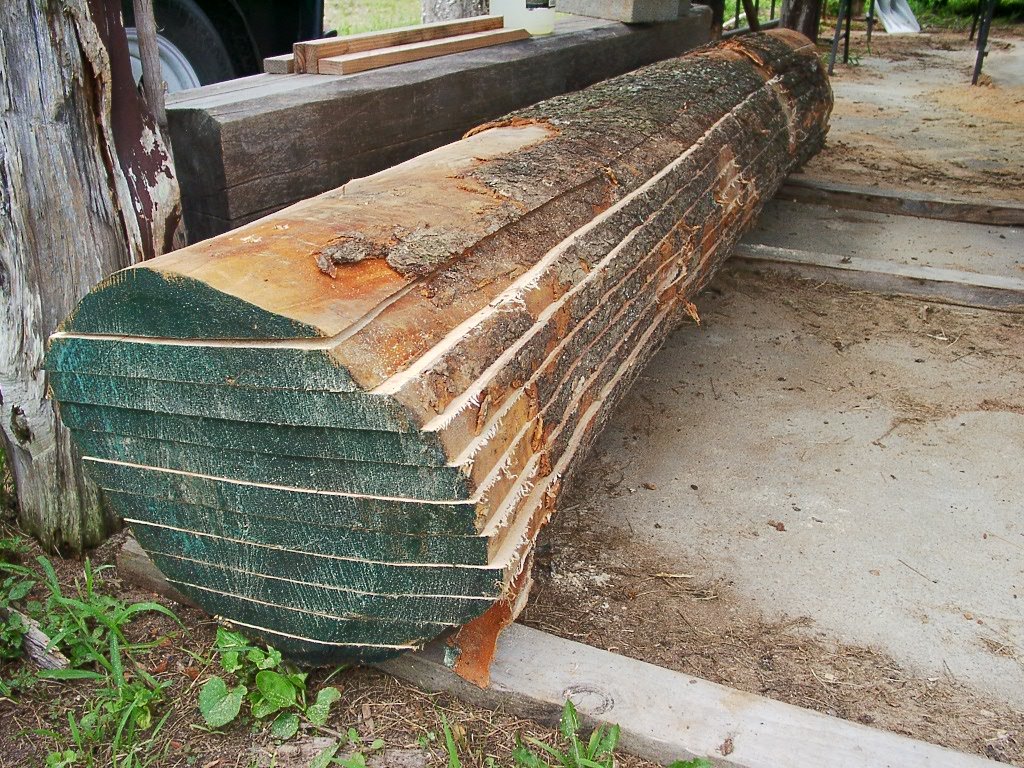
This is a maple log about 16" in diameter and 10' long. The ends have been painted to retard "checking".

I sawed this log into boards 5/4 and 8/4 thick, then put it together again.

The customer plans to build two beds from this lumber.

Have a good day!

This post has been corrected from the original where I reported it as cherry. I was mistaken, it's was maple.

Labels:

Sunday, March 19, 2006

Pass The Biscuits and Fried Chicken, Please

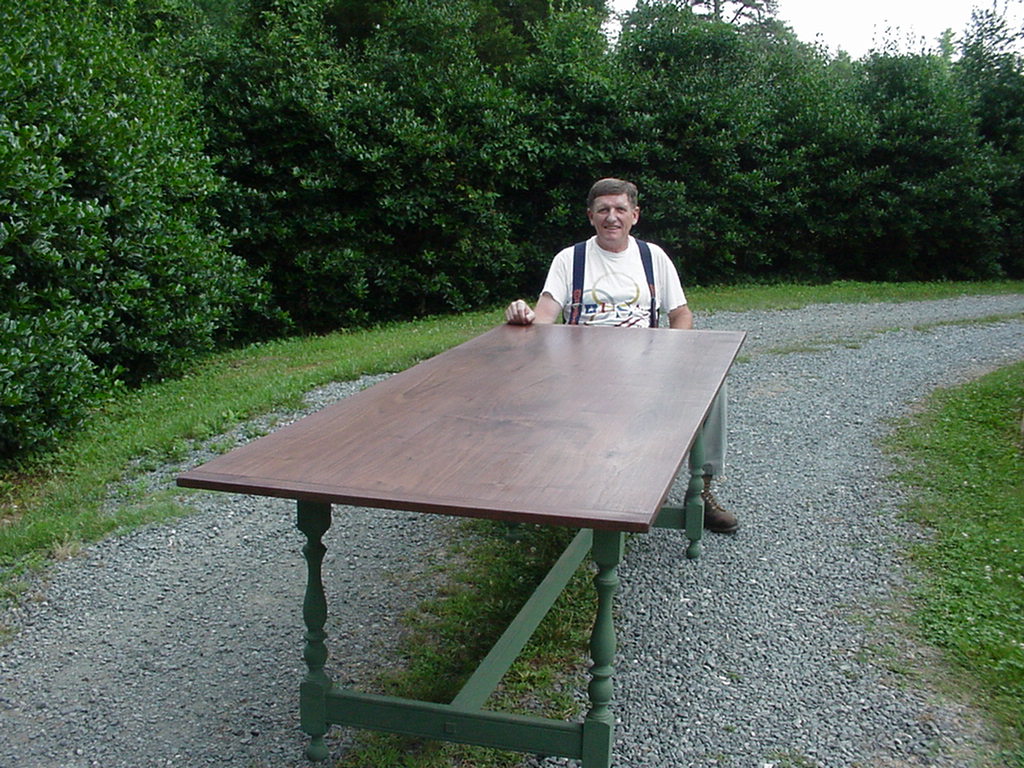
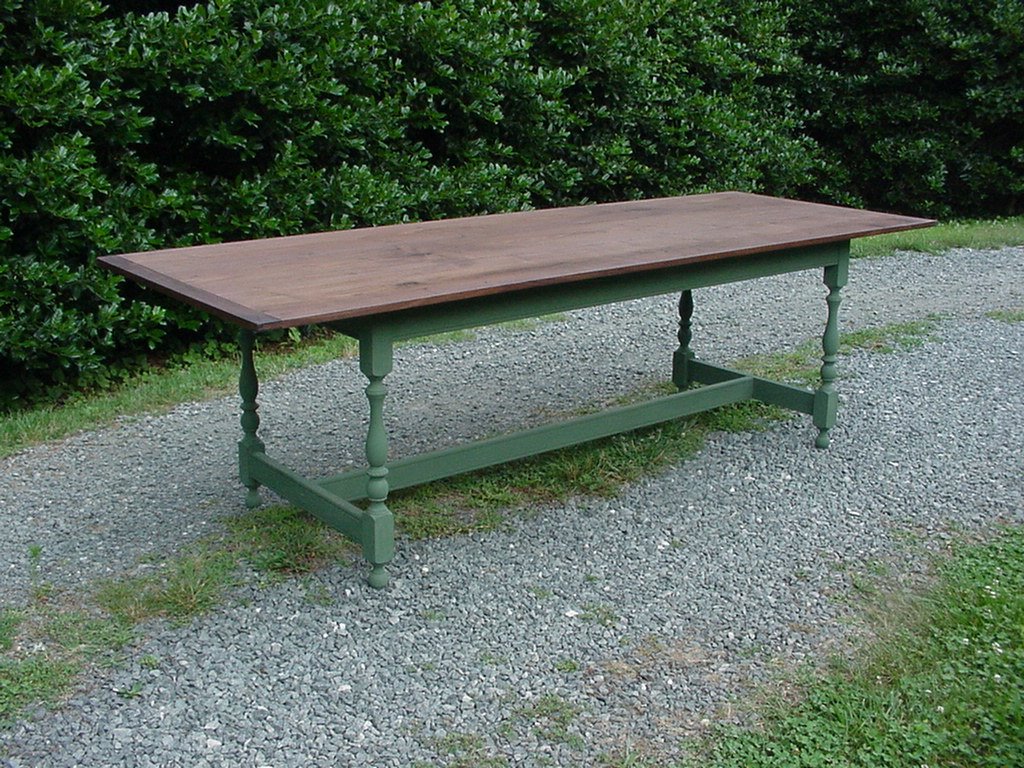
Several years ago I built a dining table for our home. I started with a very nice walnut tree and sawed the log next to the ground into wide boards. This lumber air-dried for one year before I placed the material in a kiln to reduce the moisture down to 8%. After drying, I built the table by following a plan in American Woodworker magazine (June 1995 page 28). The design is called Colonial Tavern Table and I like it because it's 36" wide and 100" long. The table easily seats 8 adults and it's not so wide to be too formal. The 36" width makes for close and intimate gatherings around the family dinner table.

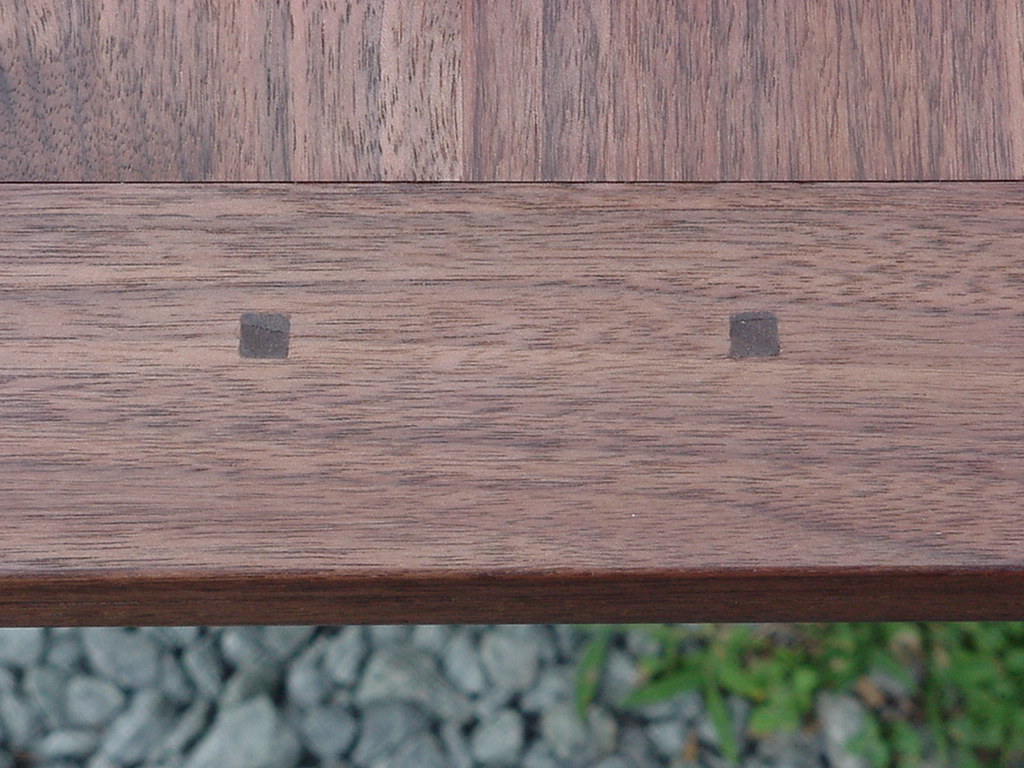
I used 3, 12" wide walnut boards for the top surface and breadboard finished the ends. This breadboard edge is pinned in place with square pegs that extend into the tenons. The legs, aprons, and stretcher are pine and finished using "milk paint" to give an antique appearance.

These pictures were taken about five years ago when I finished the project and before moving the table into our dining room.

It is serving us well and we've had many family and friends gathered around this table for meals and discussions.

Have a good day!


Labels:

Saturday, March 04, 2006

Don't Try This at Home

Don't try this at home unless you have a powerful chainsaw, the correct chain, and the skill-set to operate the saw without the bar kicking up and hitting you in the face.
You're probably asking yourself right now "why on earth would I want to do this"? I perform these cuts to produce fire starter or tender. When a rip-chain is used and the cut is made along the grain, long slivers of cellulose are removed from the kerf. These slivers pile up quickly and when allowed to dry a few days in the hot sun, a handful of this material will aid in igniting kindling to built campfires, bonfires, fireplace, chimineas or woodburning stove fires. I like using Maple wood because the wood is white when fresh and a light golden color when dry. A good friend donated these two pieces of trunk when he removed the backyard tree for a home expansion project. After drying, I will store the material in plastic garbage bags.
Have a good day!


Labels:

Friday, February 24, 2006

The last of Tutorial


A second day is needed for me to finish the job. I sawed five logs yesterday and I continue the process today, the day after Valentine's. Here are the final statistics from the sawing:

2,040 board feet (one board foot is the equivalent of 12" x 12" x 1")

1,524 square feet

219 six-inch wide boards

42 five-inch wide boards

11 hours from start to finish

3 saw blades used (I send them to Kentucky by FedEx in batches of ten to re-sharpen)

I estimate the logs weighed 7,000 pounds (based on 34 lbs per cubic foot)

Given that estimate of weight, I probably lifted and carried 8,000 pounds during the eleven hour duration. This should explain why I don't see a need to join the "Y" or Gold's Gym.

These boards will dry and shrink slightly then be milled to straighten the edges followed by the tongue and grove preparation. This will reduce the 1524 square feet to around 1000. When the material is installed to make the floor, board-ends will be cut off to fit the floor foot print and there will be further reduction in square feet. I say all this to point out that the final coverage will be much less than the beginning square feet of material.

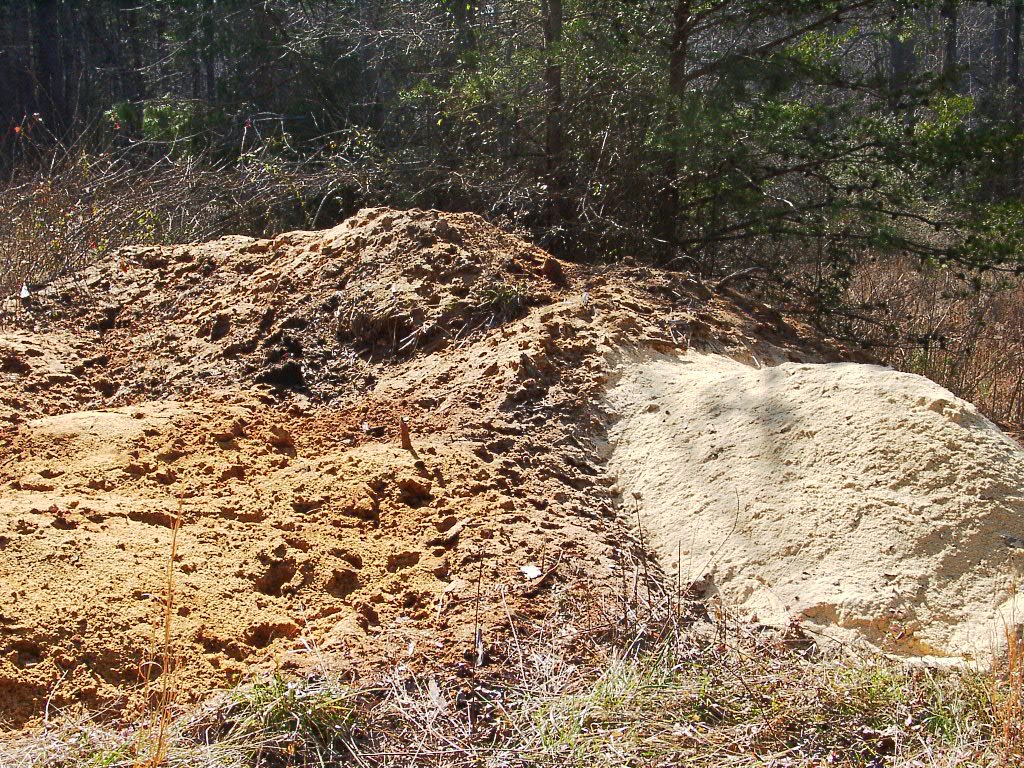
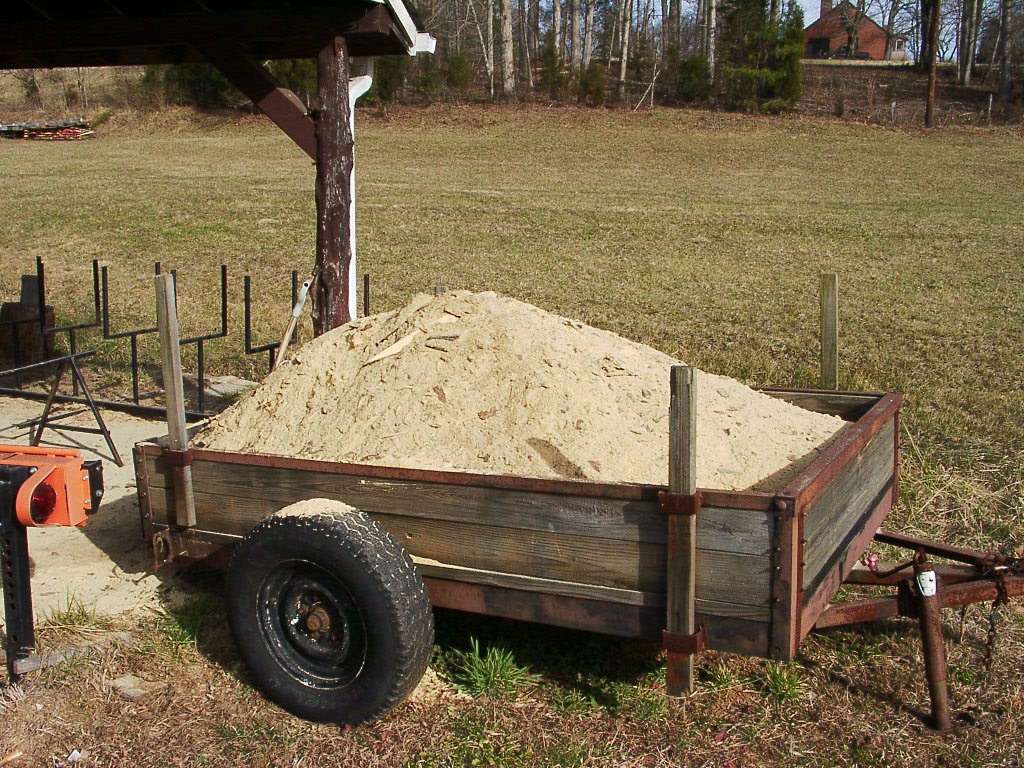
The slabs and strips were loaded on a special dump trailer as I removed them from the mill. I will deliver loads of slabs to people who request them for use in heating their house. I shoveled the sawdust into another trailer and will dump this cellulose on an accumulating pile at another location on neighboring property. This saw dust will rot and make good compost for gardens. As you can see, the by-products are put to good use.

This concludes the sawmilling tutorial.

Return tomorrow for another posting.

Have a good day!

Labels:

Thursday, February 23, 2006

Tutorial Continued


The Gala apple was crisp, tasty and will satisfy me until lunch. Now it's time to "work-up" the accumulated flitches into finished boards. Some are so wide that they will yield two six-inch boards after I remove the bark from both edges. Wide flitches are extremely heavy and I can only manually handle them one at a time. Often times, I handle one end at a time due to the long length and weight. This gets me to thinking about the weight of these logs and how much total weight I will manually handle as I process this order. I plan to do some calculations tonight to estimate the weight I will lift and carry during the duration of this job. I'll let you know the answer. I position the flitches on edge and clamp them securely as the mill cuts the top edge. I flip them and repeat the process to remove the second edge and then saw down the middle to yield two boards from the wide flitches. The removed edging is called "strips" by old-timers in the sawmill business so that's the way I refer to them. I place them on the slab pile. This process continues log-by-log. It's taking me one hour and fifteen minutes per log to complete. It's somewhat slow, but the cuts are precision and the uniformity is satisfying to me. I change blades frequently to keep sharp and honed tooth- settings. I also frequently spray the blade to prevent rosin build-up which can make the blade go crazy and cut thick and thin sections along the boards. Pine rosin can build-up quickly and cause problems if left unattended. I don't make any claims about high speed sawing and low cost, but I do claim quality sawing. People I've done sawing for in the past are usually well pleased with the results. That's important to me.

A second day is needed for me to finish this job. I have worked six hours on this job today and I'm tired and ready to quit. Tomorrow, I'll complete this tutorial and tell you statistics about the resulting lumber.

Have a good day!

Labels:

Wednesday, February 22, 2006

Tutorial Continued


I manually roll the first log into position for the hydraulic system of the Woodmizer mill to take over and lift the heavy log onto the the mill bed. I turn the switch key to the 25-horsepower Kohler gasoline engine and it fires without delay. After a short warm-up, I pull the lever to lift the log and another lever to clamp it after it rolls into an optimal position for the first cut. The first cuts around the outside are to remove the bark and those removed pieces are called "slabs". More about them later. My plan is to cut these round logs into an eventual near square of 12" X 12 3/8". Arriving at that dimension from a 20" to 22" diameter will require me to cut several "flitches". A flitch is a board that has bark on both edges that will need to be removed at a later step in the process. I'm using the 5/4 scale to saw the thickness in order to yield the "dry" thickness of over one inch as requested by the customer. After I make several cuts and arrive at the 12 X 12 3/8 dimension, I cut the 12" thick side in-half resulting in 2 pieces 6" X 12 3/8". I pull hydraulic levers to direct the mill to turn these two large pieces 90 degrees so they are vertical and side by side. (pictures of this stage will be available tomorrow) Now I'm ready to start cutting from the top, two finished boards with each pass. There will be nine passes resulting in 18 boards.

After completing two logs, it's time for a break to eat an apple so I turn off the mill and walk from under the shelter and quickly observe a clear Carolina blue sky. The temperature has risen to near forty and it's time to shed my down-filled vest jacket. I think "it's wonderful to be retired and outdoors to enjoy days like this".

More tomorrow

Have a good day!

Labels:

Tuesday, February 21, 2006

A Tutorial on Sawmilling


It is Valentine's Day, 2006, 8:30 AM, and 25 degrees. My 52- horsepower tractor is moaning and groaning as I turn the key to direct it to start. I've already walked four miles along the trail-loops at C. G. Hill Memorial Park as I exercise there most mornings. My schedule for walking is about two minutes behind the park gatekeeper who opens at 7:00 AM during the winter season. Now, however, I'm ready to move nine prime pine logs into position to begin sawmilling. These logs were delivered by dump truck yesterday by a new acquaintance who lives not far from here. I met him recently after he was referred to me by someone who thought I could mill his logs into lumber for use in re-flooring his home. After meeting and interviewing me, "he decided to give me a try", he said. The logs he and his dad delivered are the nicest pine logs I've seen in the Piedmont of North Carolina. These logs are 20" to 22" in diameter, 12' long, round and smooth, super straight, negligible taper, and no limbs. The son told me they came from only two trees that grew near the Yadkin River. I studied the growth rings and estimate the age between 80 and 100 years. So, 9 logs times 12 feet equals 108 feet divided by 2 trees equals an average of 54 feet and no limbs to that height. Wow! Old-timers have told me about pine trees like these and how common they were in the past. They are rare today.

The son instructs me to saw them into boards 6 inches wide and slightly over 1 inch thick. He said: "this is my wife's project; they will be used in flooring our home". I thought to myself, "Your wife has good taste to request a floor from this material". I know these logs will produce beautiful lumber and a floor from this wood will be outstanding. I've sawed a few thousand logs and can now predict lumber quality underneath the bark before I cut into them.

Tomorrow, I'll show you the beginning cuts.

Have a good day!

Labels:

Sunday, February 12, 2006

Cedar


A few years ago my wife and I rebuilt the deck attached to our house. We removed the old deck of aging redwood and designed the new deck to be larger and styled differently. I sawed excellent red cedar logs a year earlier in preparation for this building project. The sawed material air-dried for one year. Then I hired a millwright shop to surface the boards to dimension, straighten the edges, and round-over the corners. My wife and I worked together to erect and assembled the deck in around eighty hours. Each board is attached to the joist with screws from underneath. The stair treads are also made of cedar. The rails are cedar with 3/4" copper tubing as pickets. We used type-K copper tubing which is thicker and more rigid than types L and M. Red cedar is a desirable wood for this purpose because it doesn't split, warp, or twist with age. The red in the cedar is resistant to decay and insects. The coloration of the cedar is now gray after three years of elements, but the original color can be restored by pressure washing.

Have a good day!

Labels:

Friday, January 20, 2006

Wild Cherry


Occasionally I'll come across large Wild Cherry logs. They usually come from land that is being cleared for housing development. Such is the case in the pictures above that were taken in 2003. In the left picture the log is on the mill and has been cut down to a square shape which is called a "cant". The boards in the center picture were sawed from the log to get down to the cant. These boards are awaiting to get the bark removed on each side. That removal is called "edging". This edging will be accomplished on the same milling machine after the cant is sawed and taken off the machine. The cant can be sawed in any desired thickness and all the boards from the cant will be the same width if the cant isn't turned during the sawing from top to bottom. The thickness scale I used here is called 4/4 (four quarters). You may ask if 4/4 is not the same as 1 inch. In saw milling a scale is used taking into account the thickness of the saw blade. This is referred to as "kerf". The kerf results in saw dust and the wider the kerf, the more waste from the log. Anyway, the scale is adjusted to consider the kerf and results in a boards that are 1" thick as they come from the log. When the boards dry, they will shrink to 7/8" or perhaps 15/16" depending on species and the precision of saw milling. There are other dimensions of thickness on this same scale, 5/4, 6/4, 8/4, 10/4, 12/4. Same theory, consider the kerf.

The picture on the right is the stacked lumber from this exceptional cherry log. It is stacked with one inch square "stickers" between each layer to enable drying slowly. This drying outdoors takes about a year to get the moisture content down to 10-12%.

Another day, I'll show resulting furniture that can be made from matrial like this cherry lumber.

Labels:

Monday, January 16, 2006

Quartersawn White Oak


A few days ago I reported on sawmilling a large oak log. The log was ten feet long and thirty-three inches in diameter. I estimate it weighed around three thousand pounds. I sawed this log using a technique called quarter-sawing. Simply stated, this is a method of ripping the log in fourths. Imagine looking at the end of a round log and drawing a cross-hairs. Then imagine a saw blade cutting from one end to the other starting at the cross-hairs. You would then have four pie shaped pieces of log. Then you saw each piece individually by cutting a one-inch board off the flat side alternating sides after each cut. This method of sawing causes the growth rings of the tree to be perpendicular to the flat sides of the boards. This produces a beautiful surface and yields flashes or tiger stripe patterns as you often see in antique furniture.

Today I stacked the lumber to begin a year of air-drying. See pictures.

Labels: